Make your own felt
Felt making is a great tactile activity, this way of making it is easy and you can create some fun patterns and textures.
This guide is part of our Sense Arts, Sport & Wellbeing programme. This activity can be done at a time that suits you, either in your own space or in an educational setting.
Who is this for?
This is a crafting activity for people who are deafblind or have complex disabilities.
Why does this make a difference?
This is a creative activity that helps people explore and expand their creative choices while supporting independence in the activity.
How to do this activity
What you’ll need
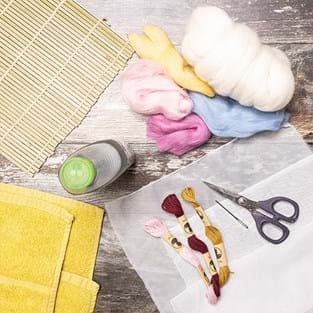
- An old towel or two
- A bamboo mat
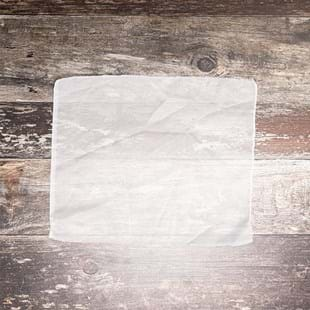
- Two pieces of mesh fabric cut into pieces that are a few inches bigger than
- A selection of colour and white merino wool tops
- A squirty bottle with an inch or so of washing up liquid in it and topped with warm water
Note: this activity gets wet – please work somewhere that can get wet and have spare towels on hand if needed.
Step 1
Step 2
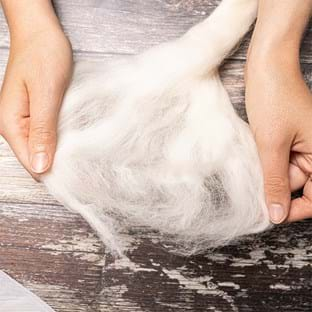
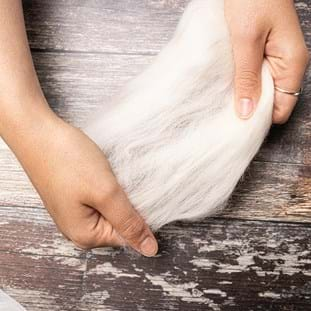
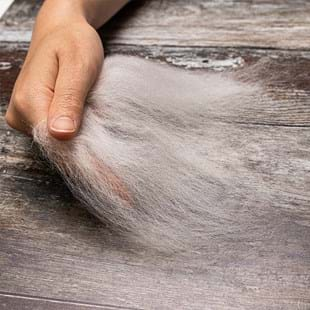
You will create the base of the felt using the white fibre, this won’t really be visible at the end but gives the piece structure. Gently pull on the fibre, pulling a small amount away. Then pull it open and tease gently. Lay this on your mesh fabric.
Step 3
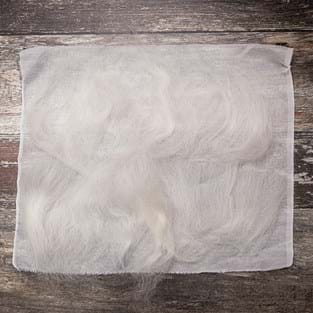
Repeat this process until you have laid out a layer of wool on the mesh. You should have at least an inch of mesh around the wool which isn’t covered, but you can have more if you want (depends on how big you want the size to be). Make sure the direction the fibre faces is roughly the same direction.
Step 4
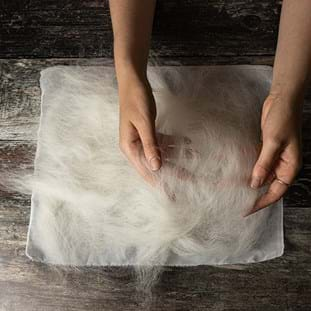
You will now do a second layer in white, but making the direction of the fibre goes in the opposite direction. The goal is to not have everything running in the same direction. Make sure there are no gappy spots.
Step 5
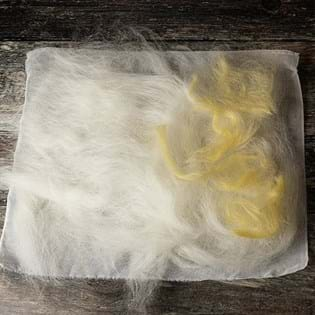
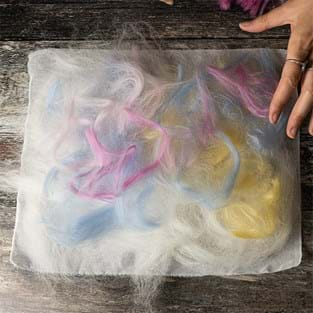
Now pick some colours. You will do what you did before, pull gently on the fibre and tease it out. However, now feel free to lay it in any direction you want. Create patterns, shapes, and combine colours. You can layer the colours up, and use as many as you would like.
Step 6
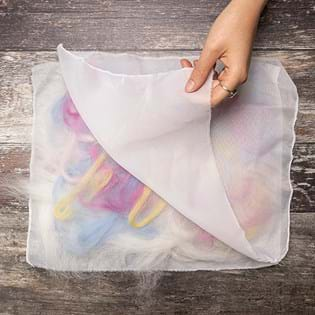
Now move the wool you haven’t used away from your workspace (this is so that it doesn’t get wet and ruined for future projects). Place the second piece of the mesh fabric over the top.
Step 7
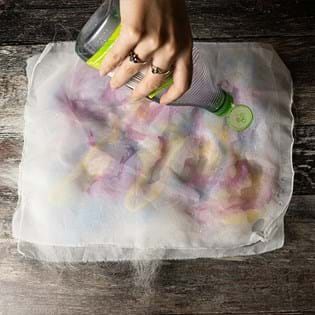
Pour or spray some of the water and washing liquid solution on your wool. A small amount at a time, and pat it down. It should be fairly wet but not swimming.
Step 8
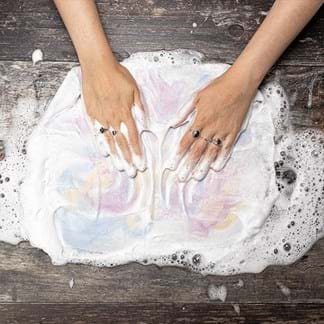
Rub in gentle circular motions on the top of the mesh. Hopefully it will get bubbly. This starts felting the fibres together. When you have rubbed for a few min, peel pack the mesh and check everything is lying flat.
Step 9
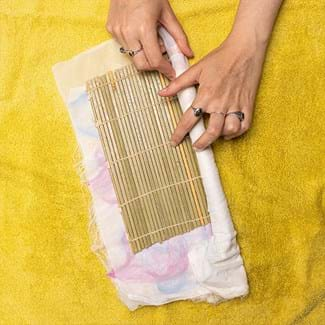
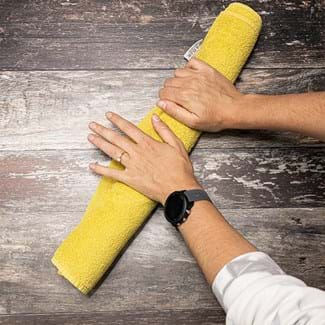
Now for some exercise! Place on the work surface your towel. Then the bamboo mat, then your felt and mesh. Roll it up like a sausage and roll it back and forth, putting some pressure on it. Unwrap, turn the felt around, and repeat. Do this for a few min until the piece is really flat and felted together. The thicker the felt, the more this will need to be done
Step 10
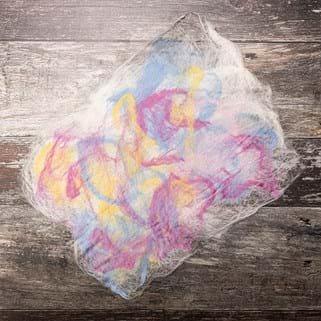
Finally, rinse your piece in cool water thoroughly and leave to dry flat. You are finished!
Step 11 (optional)
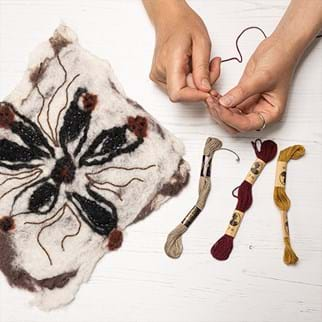
You could embroider into the felt when it’s dry or add additional patterns as shown in the image.
You could also use it for different crafts, felt doesn’t fray so you can cut it into any shape you want after and use it for crafts or perhaps if you make thicker felt- coasters?