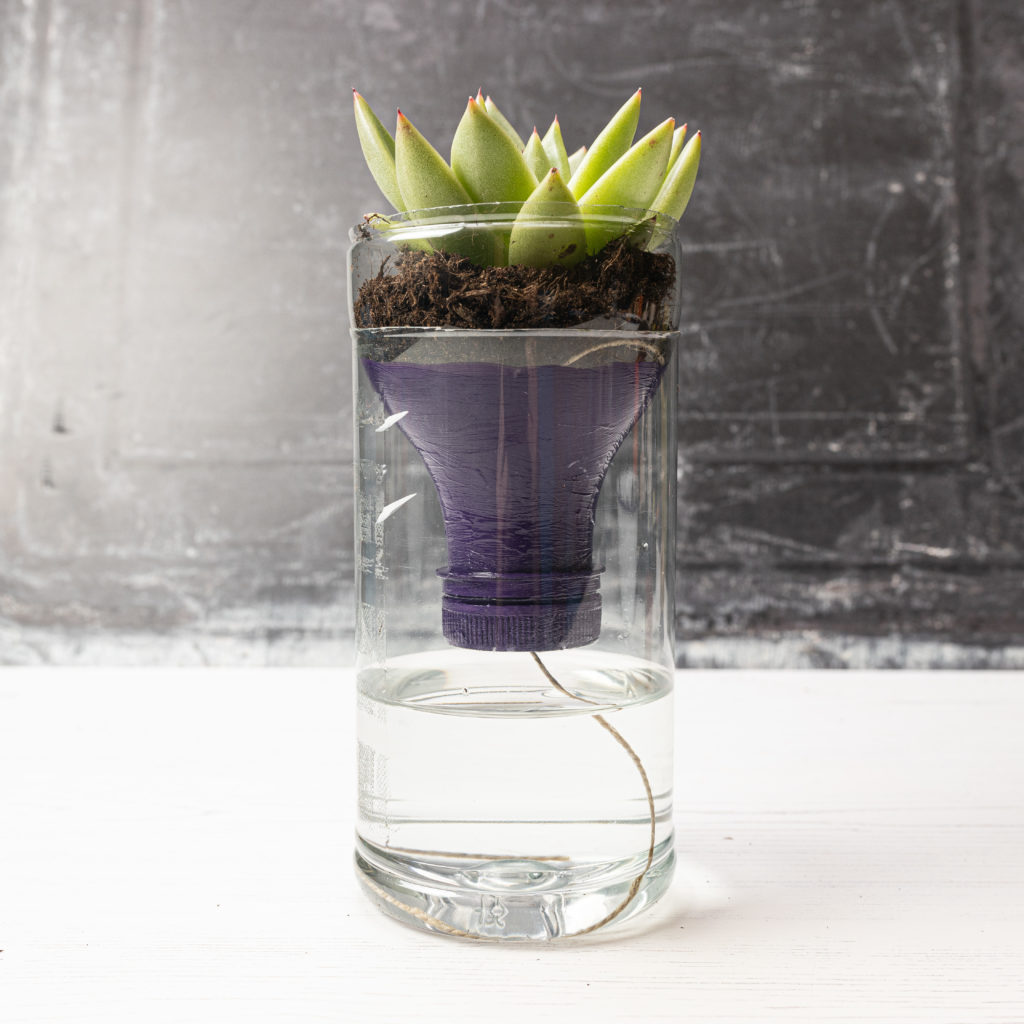
How to make a self-watering planter
Raid your recycling bin to make these self-watering planters – they’re great for low-maintenance indoor plants.
Note: One key step using a hammer and a nail requires additional support, but this can be done ahead of time if you prefer.
This guide is part of our Sense Arts, Sport & Wellbeing programme. This activity can be done at a time that suits you, either in your own space or in an educational setting.
Who is this for?
This is a crafting activity for people who are deafblind or have complex disabilities and can be enjoyed by anyone.
Why does this make a difference?
This is a creative activity that helps people explore and expand their creative choices while supporting independence in the activity.
How to do this activity
What you’ll need
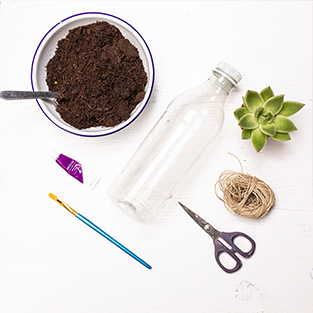
- A clean plastic bottle (clear and smooth-sided works best)
- Scissors
- Hammer and nail (see notes in bold)
- String or yarn
- Potting soil and seeds, or a plant
- Paint and paintbrush (optional)
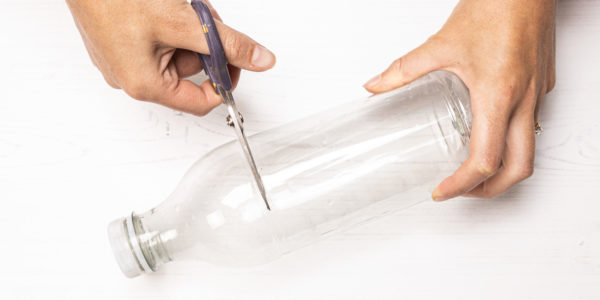
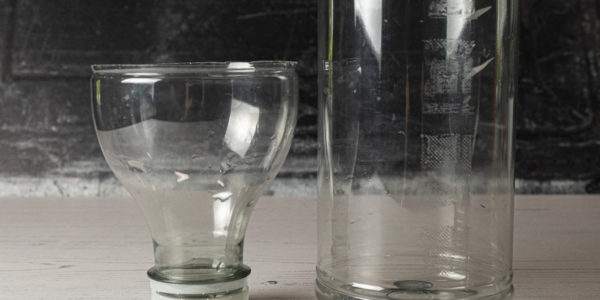
Step 1
Cut the top third off of the bottle. The first bit is tricky and can be dangerous – be careful and seek support if needed.
Step 2
If the edges are rough, tidy them up with your scissors.
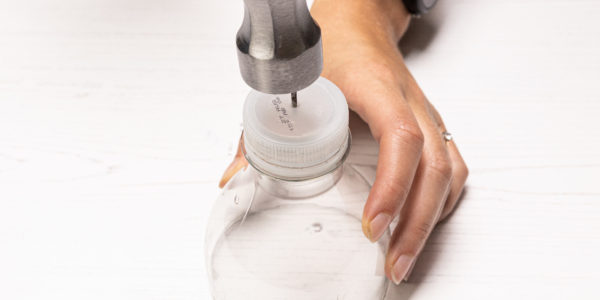
Step 3
Hammer the nail through the centre of the bottle lid. Repeat to make the hole easily threadable. This step should be done by an adult or support.
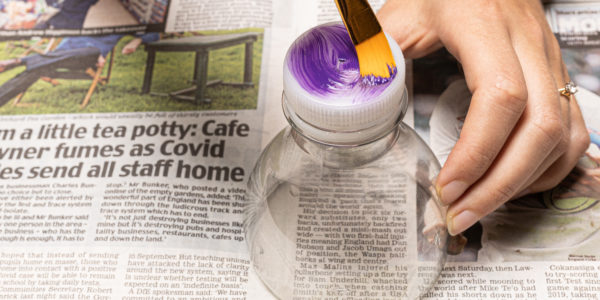
Step 4
If you like, paint the top third of your bottle and the bottle cap. You may need more than one coat. Leave to dry. This step is optional.
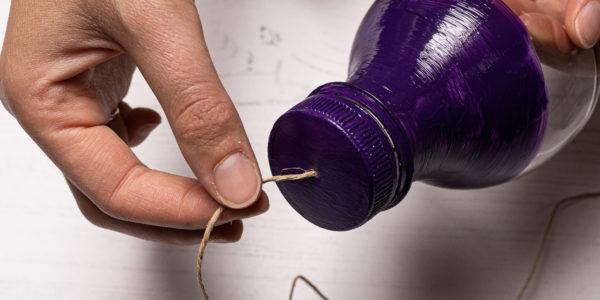
Step 5
Cut and thread a 30cm piece of string through the bottle cap, then screw the cap onto the bottle top.

Step 6
Fill the bottom quarter of the bottle with water.
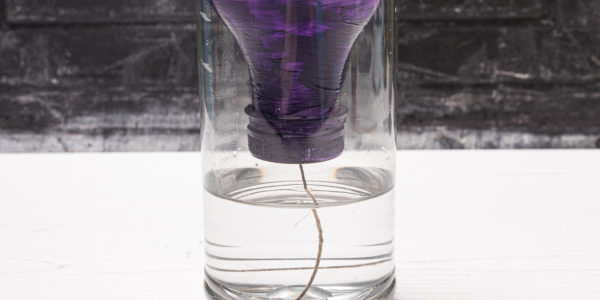
Step 7
Next, put the bottle top into the bottle cap-side down, so that the yarn hangs in the water.
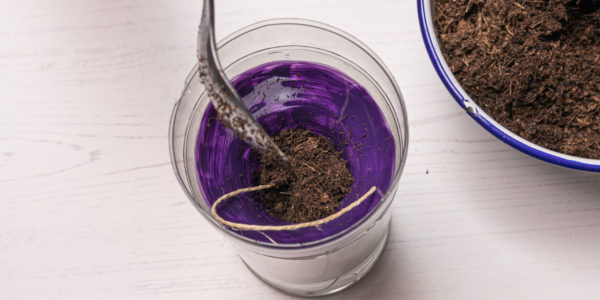
Step 8
Fill the inverted bottle top with soil and plant your seed, or carefully pot your plant.
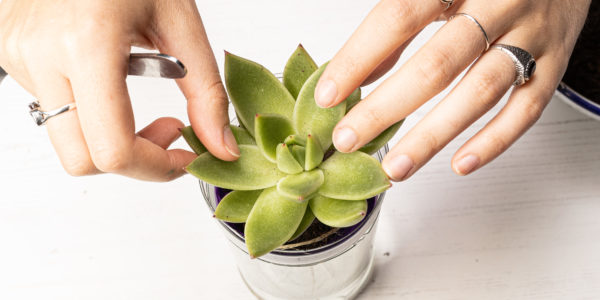
Step 9
If you are planting a seed, you will need to water it regularly until its roots are established.